Demo Location Route Guide

Cardboard Fort Route Guide

Cardboard Fort rewards planning two surfaces ahead because narrow box edges punish late camera changes.

Target Split (Safe)
1:15 – 1:45
Target Split (Speedrun)
0:38 – 0:50
Elevation Delta
+68 Meters
Difficulty Rating
2.5 / 5 (Intermediate)
Major Transitions
Cannon Arrival → Tape Bridges → Playground Gateway
Cardboard Fort Route Guide In-Game Landmark
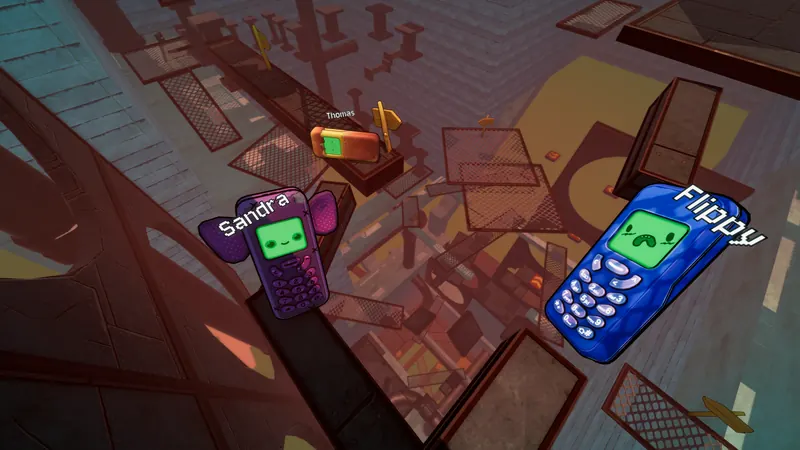
🎮 Visual Landmark: Cardboard Fort Route GuideOfficial Steam Release Screenshot · Elegant Horse Studios

Cardboard Fort elevates the difficulty by replacing broad cylindrical pipes with asymmetric cardboard boxes, fragile duct tape bridges, and open vertical voids. In this level, spatial commitment and landing angle precision become paramount.

Because cardboard edges feature slightly higher static friction than polished metal, corner-catching becomes a severe threat. Hitting a box corner at high speed will frequently tumble your phone end-over-end down through multiple tiers of boxes.

Section-by-Section Walkthrough

Section 01

Cannon Ejection and Lower Box Stacks

🛡️ Safe Route

Emerge from the cannon launch and land flat on the wide delivery box. Settle camera behind the box centerline.

⚡ Speedrun Line

Buffer a forward roll during the cannon descent arc to land directly on the ascending corner box, saving 4 seconds.

🎯 Visual Anchor: Use the printed barcode label on the primary shipping carton as your camera alignment reference.
Section 02

The Duct Tape Suspended Crossing

🛡️ Safe Route

The tape bridge is narrow and flexible. Take single micro-taps forward, checking phone balance after every 90-degree roll.

⚡ Speedrun Line

Execute a full-power vibration jump from the box rim, vaulting entirely over the tape bridge to the opposite carton.

🎯 Visual Anchor: Align your camera precisely with the silver tape line; any diagonal pitch will roll the phone over the tape edge.
Section 03

The Spiral Box Tower to Gateway

🛡️ Safe Route

Ascend the four escalating boxes clockwise. Settle flat on each platform, turn camera 90 degrees, and repeat.

⚡ Speedrun Line

Wall-jump off the vertical carton backing on box 2 directly up to the summit ledge, bypassing box 3 entirely.

🎯 Visual Anchor: Look for the "FRAGILE" red stamp on the top box; aim your final jump directly between the stamp letters.

Hazards & Fallback Recovery Perches

⚠️ Tape Bridge Sway & Deflection

Landing near the tape edge can torque the phone sideways into the void.

🛟 Emergency Catch: The lower tier delivery carton directly under the midpoint of the tape bridge offers a reliable safety net.

⚠️ Spiral Tower Corner Bounces

Misjudging height on box 3 hits the cardboard corner and flings you backward into the lower stacks.

🛟 Emergency Catch: Aim slightly toward the inner wall crease; an under-jump will wedge safely in the box crevice.

💡 Zone Speedrunner Tips

  • Cardboard boxes have flat, predictable tops but unforgiving edges. Always bias your landing towards the center of each box.
  • Do not rush the tape bridge: a patient 3-second crossing is infinitely better than falling and losing 45 seconds climbing back up.
  • Practice the box-to-box wall jump in Chill Mode; it is one of the most reliable time-savers in the entire demo.

❓ Frequently Asked Questions

Can you skip the duct tape bridge entirely?Yes! A 100% charged vibration jump from the preceding box edge with forward momentum vaults clean over the bridge.
Why does my phone bounce so high off cardboard boxes?Hitting with the phone corner compresses the cardboard geometry, creating an elastic bounce. Land flat on the screen or back to absorb energy.
Level names, geometry markers, and structure follow the public Steam demo build v1.0.4. All route walkthroughs, visual cues, and recovery advice are independently researched and maintained by flippingishard.com.